A lot of you have been asking how the Friday 4Koma's artwork is created. This is a basic rundown of the process:
For starters, Friday 4Komas are laid out more like an animation than a comic. The characters and the backgrounds are independently placed in each 4koma frame unlike a traditional comic where the characters and backgrounds are simply drawn together.
The comic artwork starts in Adobe Photoshop where the initial sketches are created using a Cintiq 12WX.
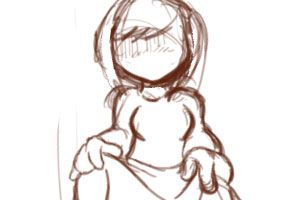 Initial Sketch
After the sketches are finished, they are imported into Adobe Illustrator to add the line work. The lines are actually a darker shade of brown and not the traditional black. This gives the characters a more gentle feel. Once this step is finished the line work is exported out as a 450dpi PNG, considerably larger than will ever be needed, to be re-imported back into Photoshop.
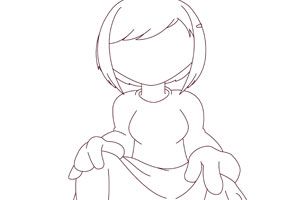 Vector Outlines
Once imported, the artwork receives it's flat colors...
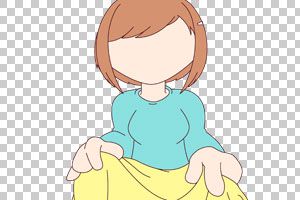 Flat Colors
Thicker outer stroke...
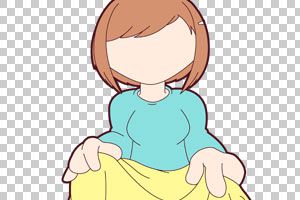 Thicker Border Stroke
And shading, before being saved and exported one last time into Illustrator.
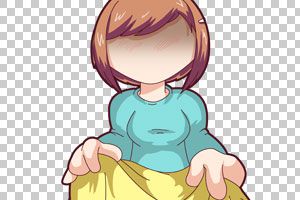 Shading
The 4koma's backgrounds are either vector and created inside Illustrator...
 Sample Vector Background
Or bitmaps and created by hand in Photoshop.
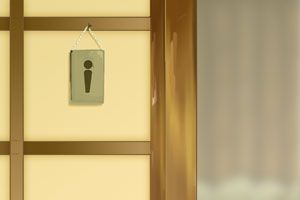 Sample Bitmap Background
The final versions of the characters and the backgrounds are either imported into, or created in, Illustrator and positioned together for the comic itself. All that is left then is to export the final comic and the latest Friday 4Koma is finished.
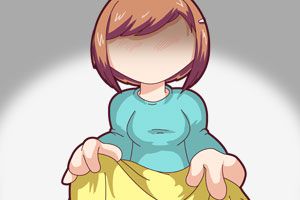 Final Frame
Hopefully you've enjoyed this brief glimpse into the creative process behind the artwork of Friday 4Koma.