It's been a while since I've done anything like this and since I actually had the foresight (for once) to keep my source file's layers intact, I decide to post a new behind the scenes with an accompanying video, as well.
The unforgiving video shown above is of the forest background image from Friday 4Koma 第156話 at a size drastically larger than it will ever appear in print. In print, the largest a single panel of a Friday 4Koma will be viewed at is 2.5" (6.35cm) x 2" (5cm). This video is the equivalent of almost five times that that size. I also want to note that the background image was 100% created in Adobe Photoshop without any other programs or tools.
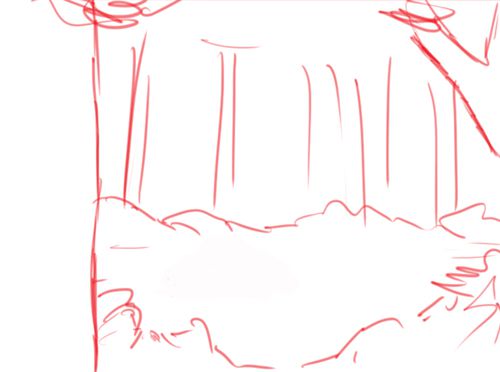
The first thing that went into creating this background image was a rough sketch of the layout. The point of this initial sketch was not for details, but merely to show placement and blocking of the main features. To be completely honest, it took no longer than 30 seconds to complete.
 Rough Sketch
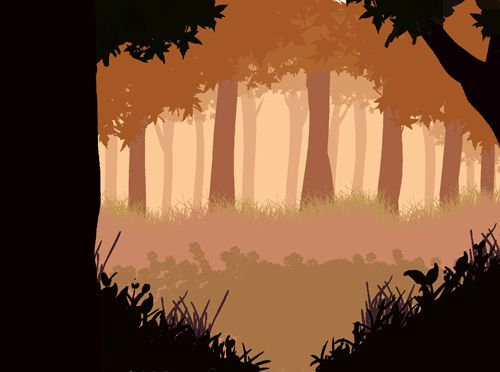
After the rough sketch was finished, I began layering the different objects in the image from closest to furthest away. There were 10 layers in total and each object on them was created using the pencil tool. This gave them all jagged, unaliased shapes that were easier to select when I started adding details to them, later.
 Flat Pencils
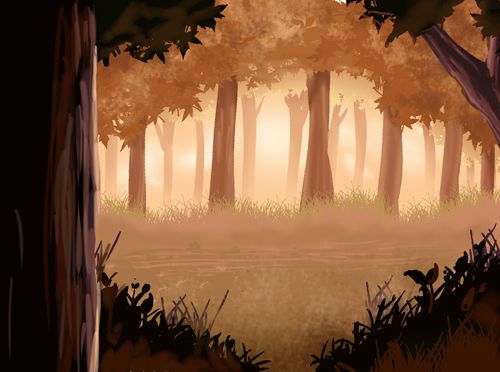
Once the pencils were done, I switched over to the paintbrush tool and began adding the details. Again, starting at the closest objects and moving backwards to the furthest away.
 Colored Layers
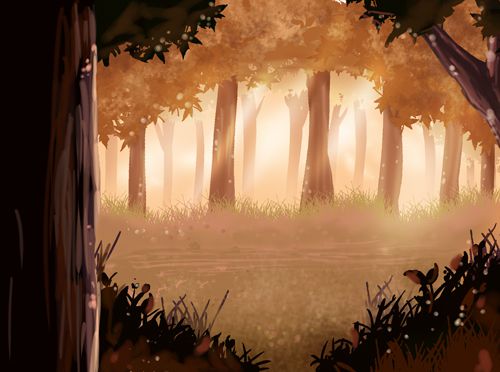
Finally when all the details were added to the layers, I created two new layers. The first one was to add additional highlights and details. The other was to add the sunlight shining through the leaves of the trees.
 Final Touchups
And that's it! I really hope you enjoyed this glimpse of what goes into making a Friday 4Koma.